
Send a case
Two ways to send.One standard of care.
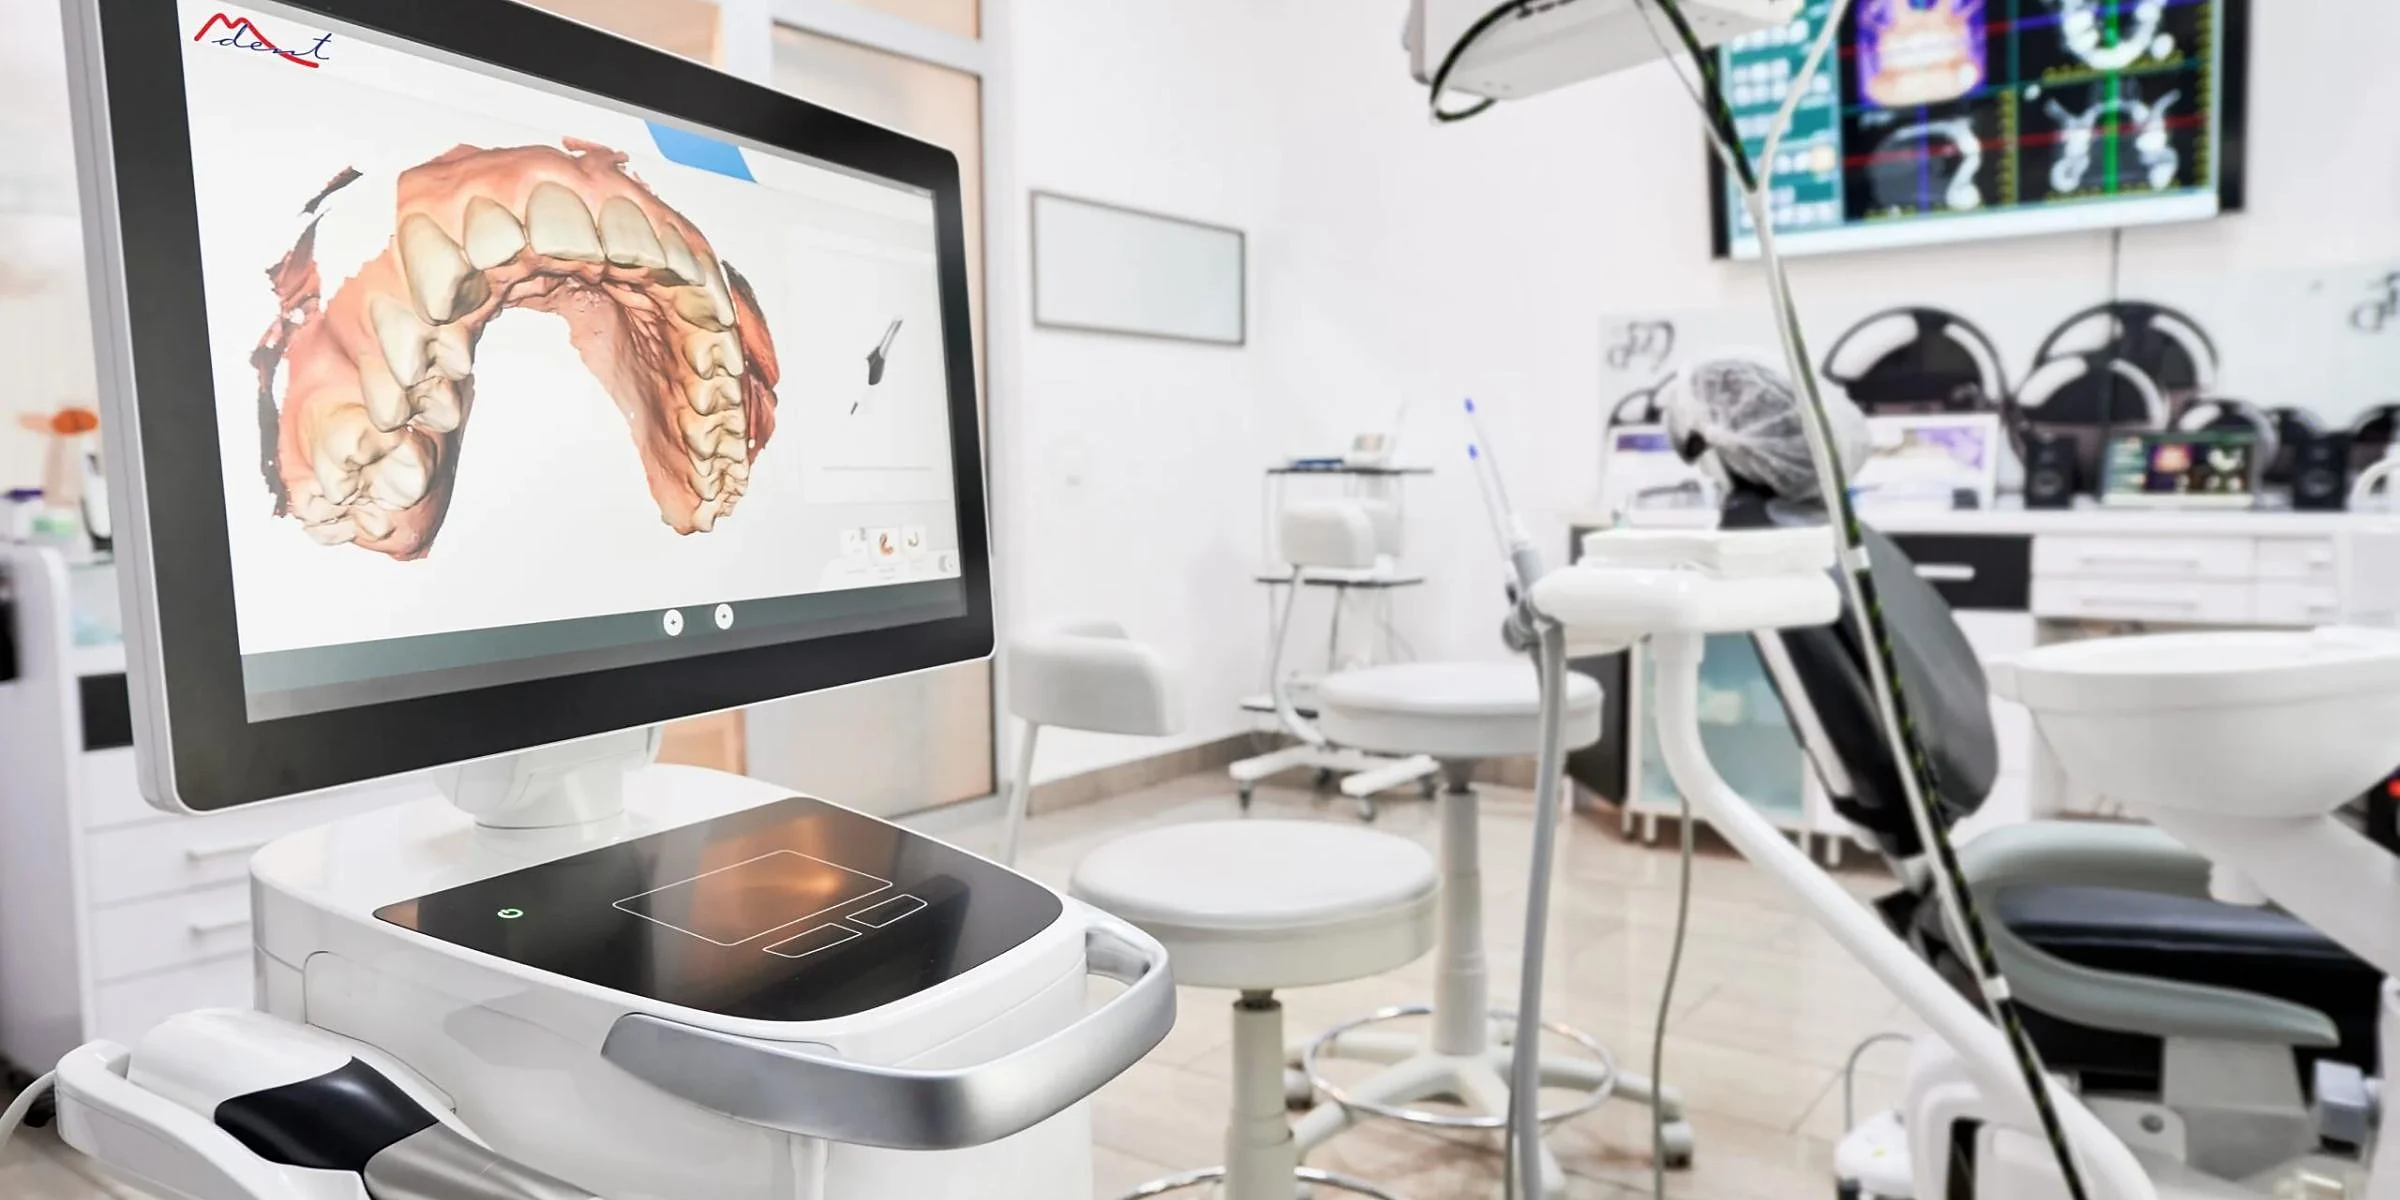
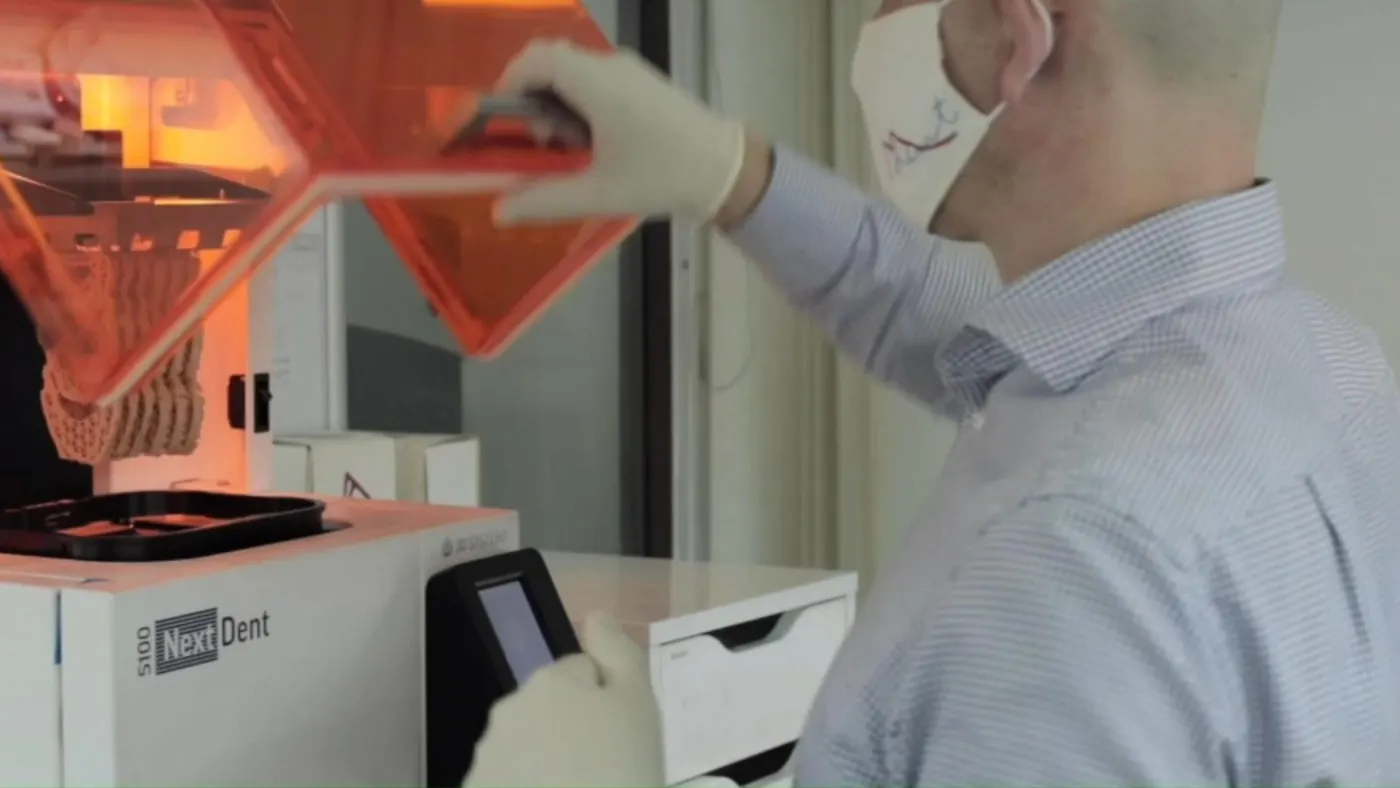
Send a digital scan from your clinic in minutes, or book our courier to collect physical impressions.
Digital
Connect yourscanner once.
Add MDent as a lab in your scanner software using cadcam@mdentlab.com. Every scan after that is one click away.
Patient files stay in your scanner workflow.
Do not email scans or put patient details in website forms. Send cases through your scanner portal, and include the prescription, tooth numbers, shade and any photos with every scan.
3Shape TRIOS
Open 3Shape Communicate- 1From your 3Shape Communicate account, send a Connection Request to Middle East Dental Laboratory (cadcam@mdentlab.com). This is a one-time registration.
- 2We accept the request within a few hours.
- 3Complete the intraoral scan.
- 4Complete the TRIOS Rx. Not every material is listed, so use the free-form notes for the material (e.max, zirconia and so on), product name and any instructions.
- 5Select Middle East Dental Laboratory from the Lab menu and send.
Trouble connecting? Call or WhatsApp +971 4 332 9201, or email cadcam@mdentlab.com.Get help connecting
Physical
Booka pickup.
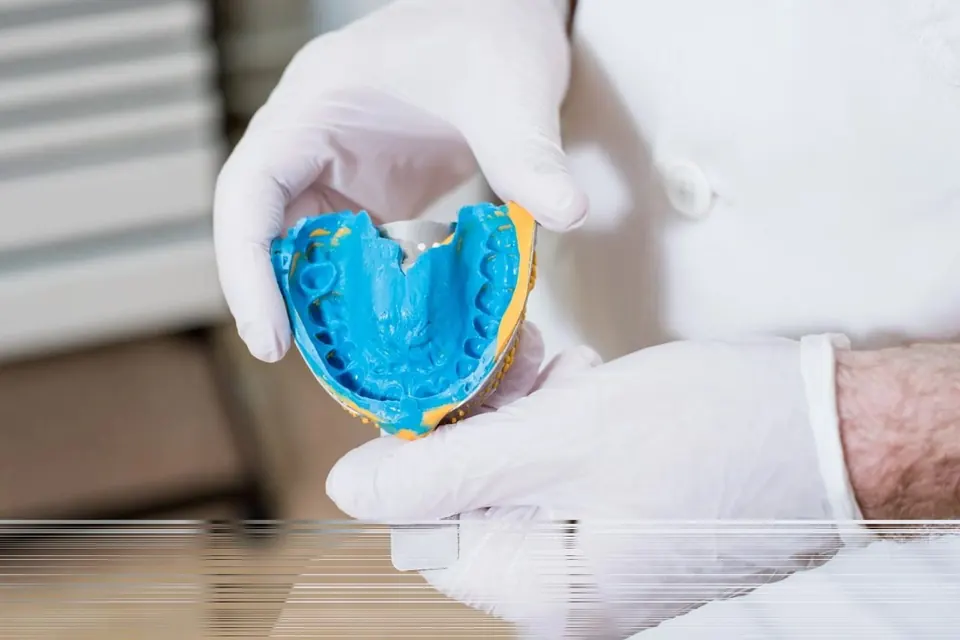
Our own drivers collect from clinics across the emirates, with free pickup and delivery. Book a pickup and our team will confirm the collection time by phone.
Whether it is for bridges, crowns, custom trays, dental implants or dentures, an accurate impression is the cornerstone of a successful outcome. Plan the case with us and we can help you avoid common problems and get the best fit for your patient.
Courier pickup
We confirm the collection time by phone.
Shade matching
Get the shaderight first time.
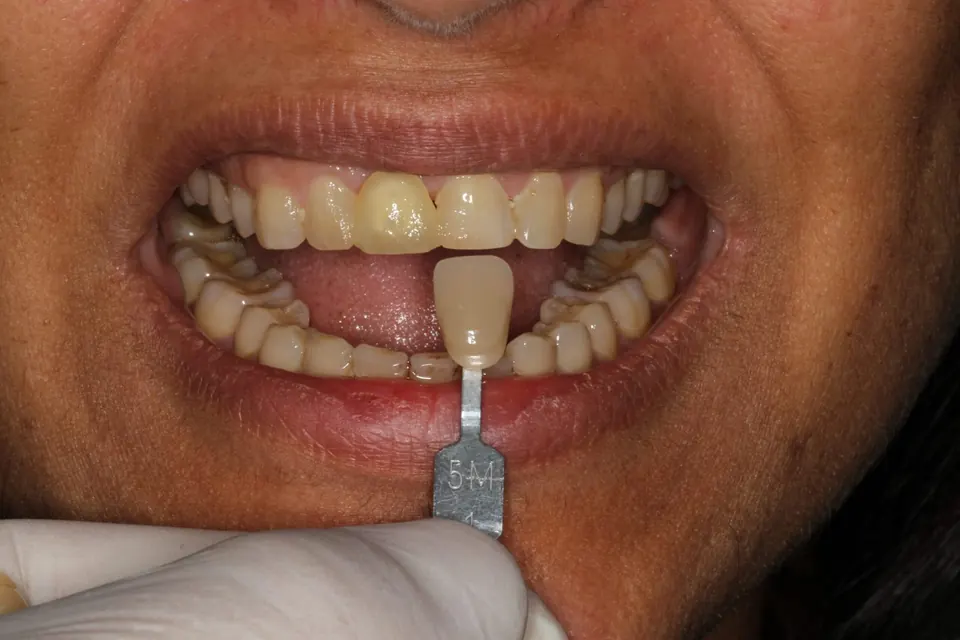
Precise shade matching is essential for tooth-coloured restorations, and the environment you take the shade in matters as much as the shade guide.
Send shade photos
Email photos@mdentlab.com or WhatsApp +971 4 332 9201. Photos of the teeth only, with no patient names or details.
- 1LightingAvoid the usual pull-down operatory light. Use overhead full-spectrum, colour-correcting bulbs with a colour rendering index (CRI) of 90 or above, and avoid direct sunlight.
- 2Room and accessoriesNeutral tones such as grey for the walls, and a neutral-coloured bib and accessories, so no colour reflects onto the teeth.
- 3PhotographyGet close enough to capture only the teeth and surrounding tissue, in focus. Take photos at the start of the appointment while the teeth are hydrated, with the camera perpendicular to the teeth, from three angles: straight on, slightly right and slightly left. Avoid flash marks: use a ring flash with a diffuser or a polarising filter.
- 4Material choiceFor anterior teeth, avoid materials such as solid zirconia that can look too opaque. Choose a material with the right translucency to match the natural tooth.
Shade taking and custom staining
We also offer precise shade taking and customised staining, so restorations blend seamlessly with your patient's natural teeth.
Book shade takingQuestions about a case? Ask a technician directly.